Behind the Scenes: Crafting an MDF Table from Start to Finish
Today, we have the honor of inviting our Product Director to show us how an MDF table is made. Let’s embark on this revealing journey together and follow each step along the way!
We’re currently in our warehouse where we store all our table-term resources. Here, you’ll find that all our materials come straight from our suppliers, specifically for each type of MDF furniture.
Material
First, let’s introduce the material used for the table – MDF(medium-density fiberboard). MDF is a composite wood product made from wood fibers and resin. It is known for its smooth surface and uniform density. The boards are made using wooden powder, without any cover on the bottom or outside. The raw material comes in various sizes, ranging from 1.2m to 2.4m, and thicknesses, ranging from 18mm to 30mm.
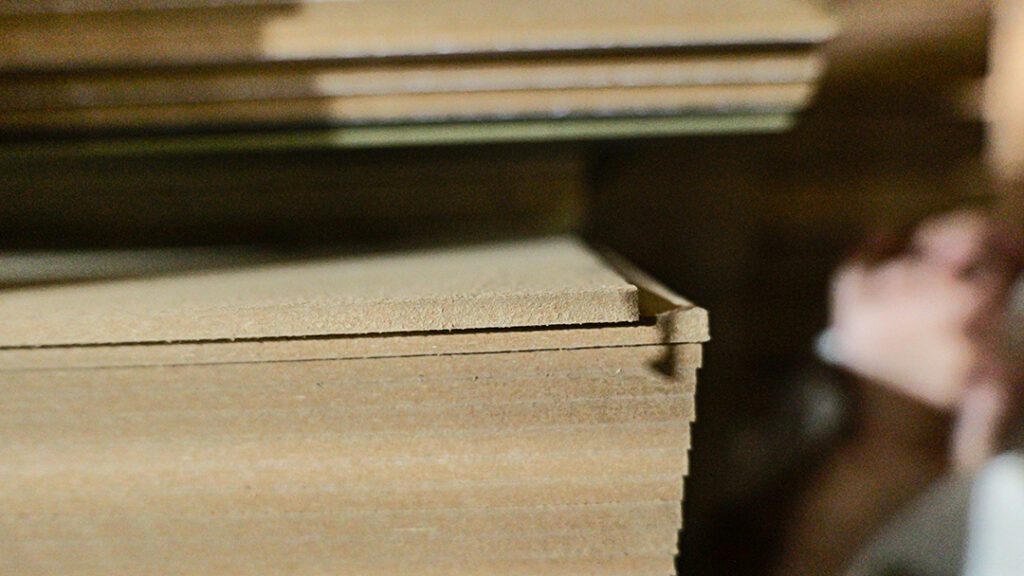
We offer three choices for the MDF table categories:
– MDF with melamine cover
– MDF with veneer paper cover
– MDF with painting cover
– MDF with wood veneer cover
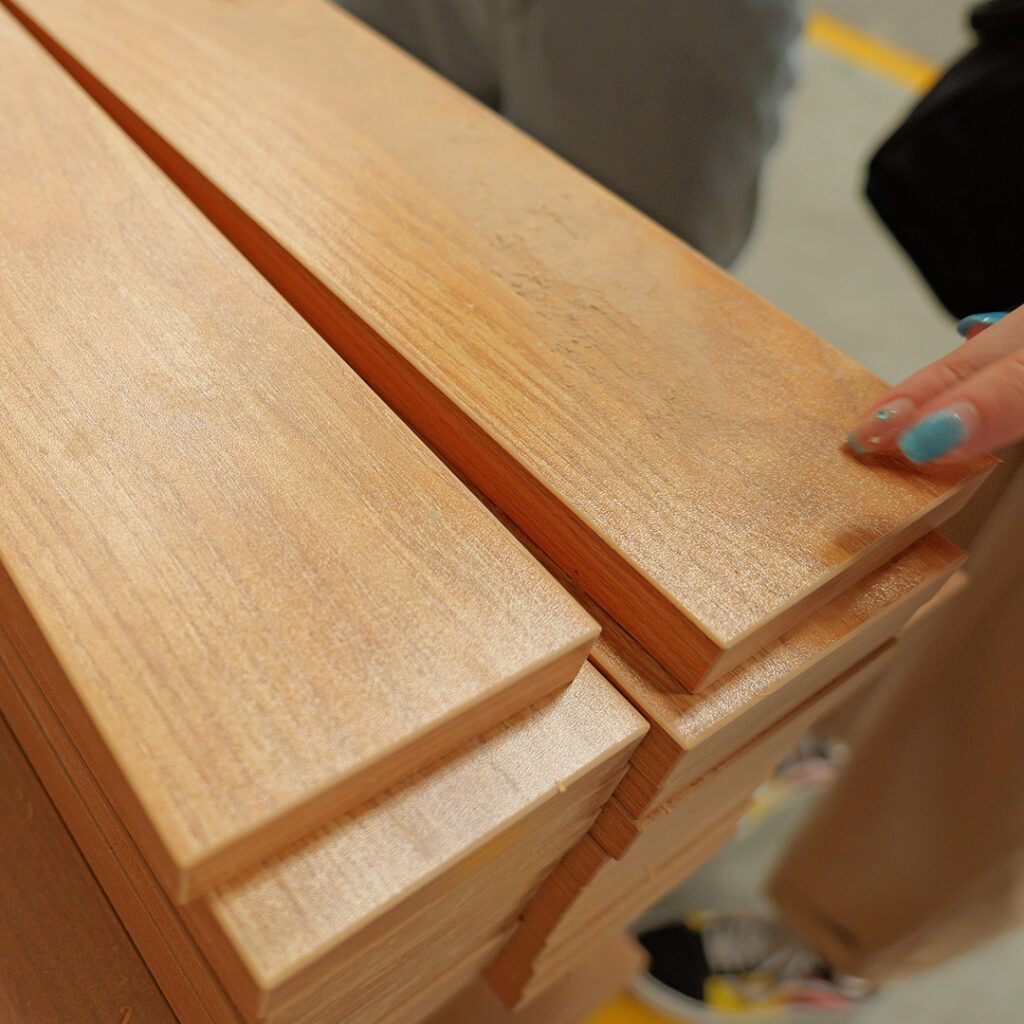
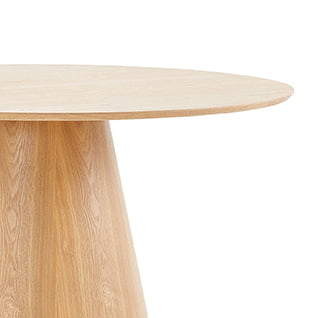
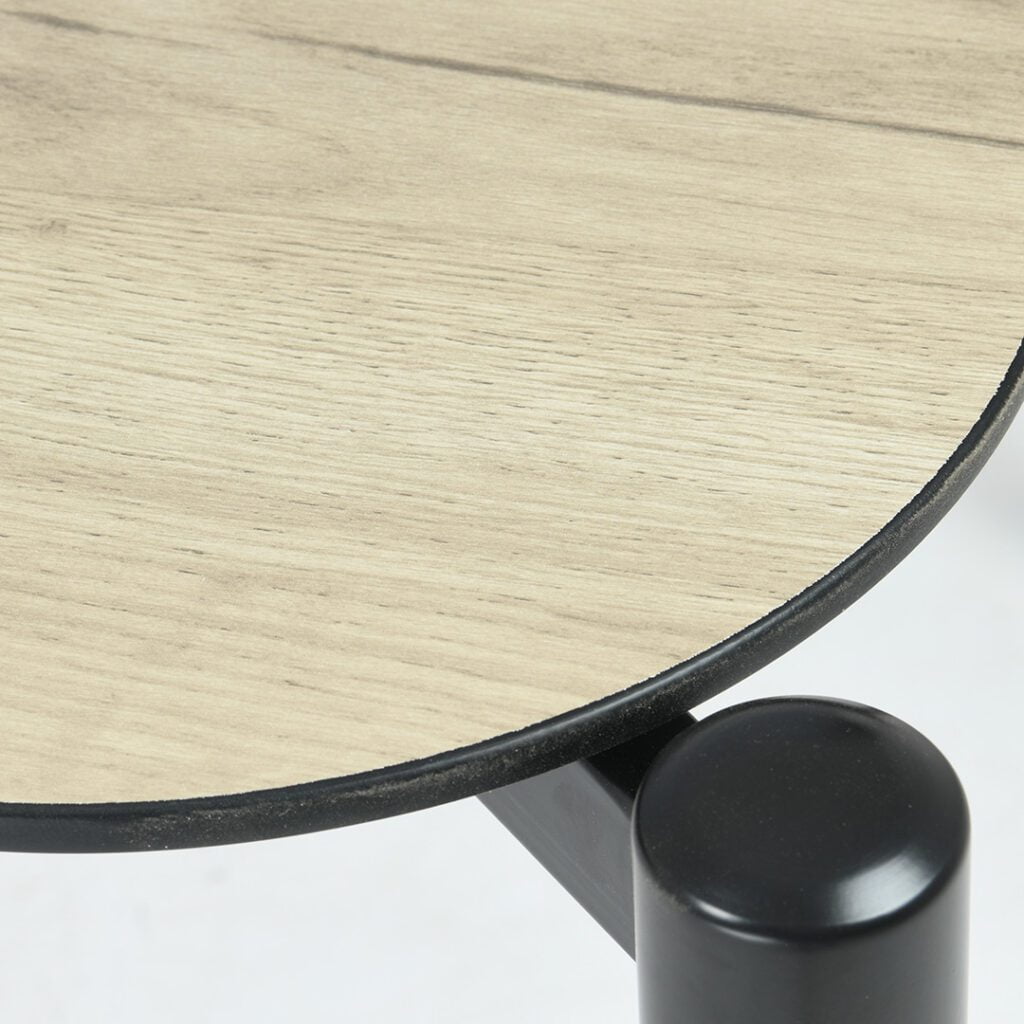
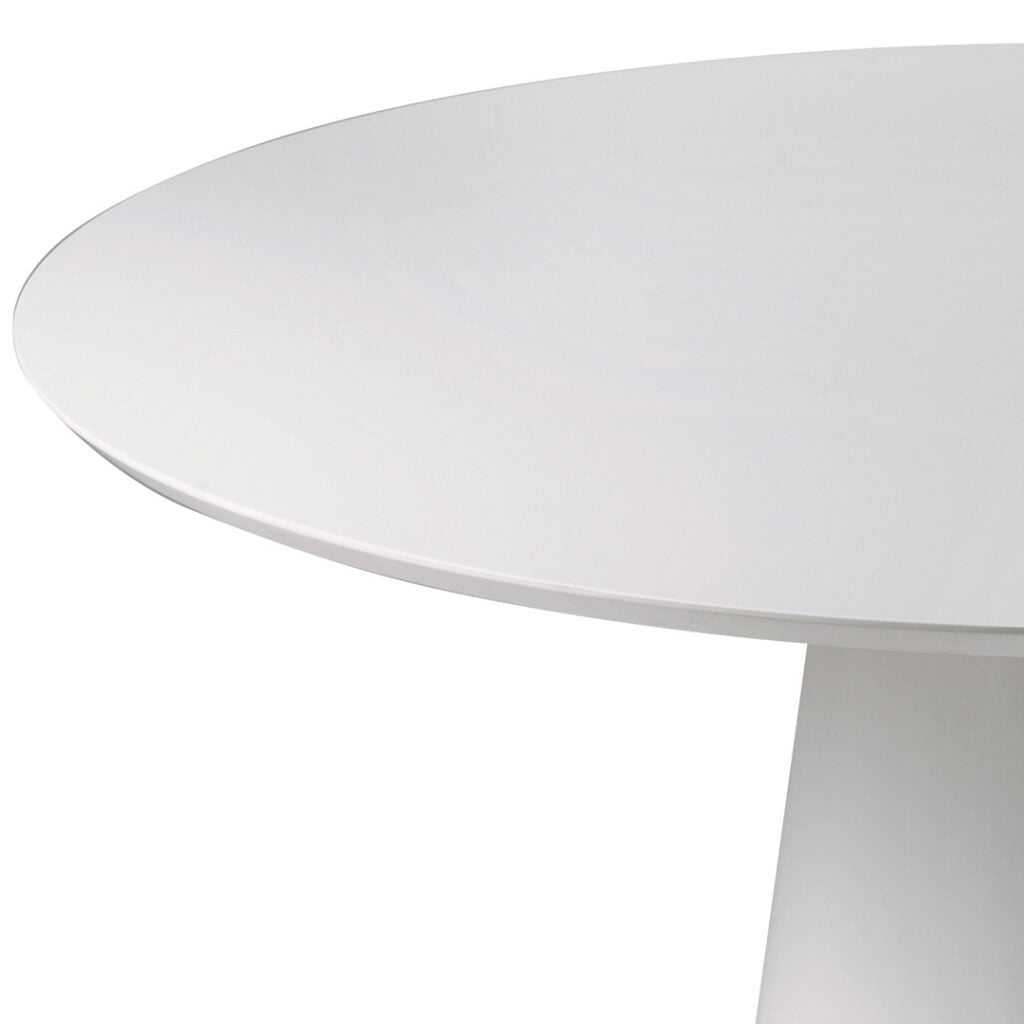
– Melamine is a synthetic resin commonly used to coat furniture and cabinetry, providing durability and resistance to scratches and heat.
–Veneer paper is a thin layer of decorative paper or wood veneer used to cover surfaces to achieve the desired aesthetic.
–Painting involves applying pigment to a surface, usually to add color or protection to different materials.
–Wood veneer is a thin layer of wood typically used for covering surfaces, giving them a natural wood appearance.
(Tips: The fumigation technique meets the requirement)
When we buy materials from suppliers, some of the MDF materials are already fumigated to meet custom requirements in specific areas, while others aren’t. For the non-fumigated materials, our operations department must handle the fumigation task during product export.
Pressing
We purchase raw materials with a thickness ranging from 0.3 to 3.0cm. Occasionally, we need a thicker tabletop, around forty mm, where two boards are joined using a specific machine to create the desired thickness. This workshop specializes in this type of work.
For example, the plates above and below are thin, while the middle part is hollow and filled with foam. We use a board with this thickness for the outer layer, leaving the inside hollow. By using boards like these for the top and bottom, the tabletop achieves the desired thickness.
However, for the middle section, some solid parts are unnecessary due to weight control considerations. If the tabletop becomes too heavy, it may cause problems. We sometimes place metal inside as well — To ensure the plate remains straight and unaffected by factors such as high temperature and humidity, we add two iron plates in the middle. This is because MDF tends to slightly bend under certain conditions.
Cutting
In our all-in-one production line for cutting, trimming, and punching, we ensure top-notch speed and efficiency.
Within the cutting workshop, we have an automated machine dedicated to cutting raw materials. Although it requires a worker to move the boards, this machine excels at creating various shapes like patterns and graphics.
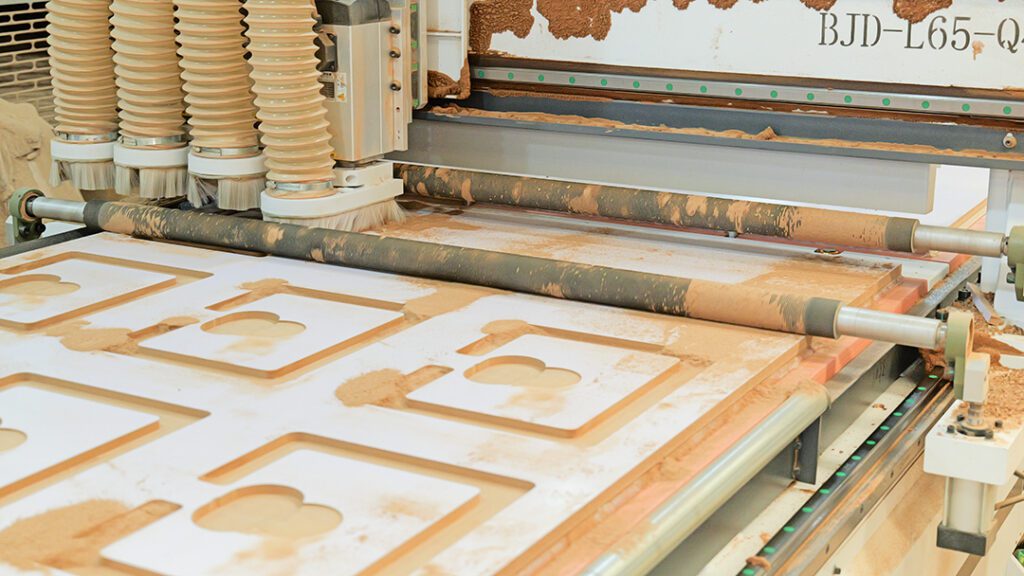
For instance, when we need tables with unique waving edges or custom designs, this machine effortlessly cuts any pattern or hollow by simply connecting it to a computer. Our skilled designer creates the pattern design and transfers it to the factory’s computer, enabling seamless operation with the machine.
Prior to commencing the cutting process, we input the required model or data into the machine. When dealing with drawers that demand holes for future connections, our machine precisely cuts them to perfection. By entering the precise size requirements into the computer beforehand, we ensure accurate results and prevent any discrepancies or data errors.
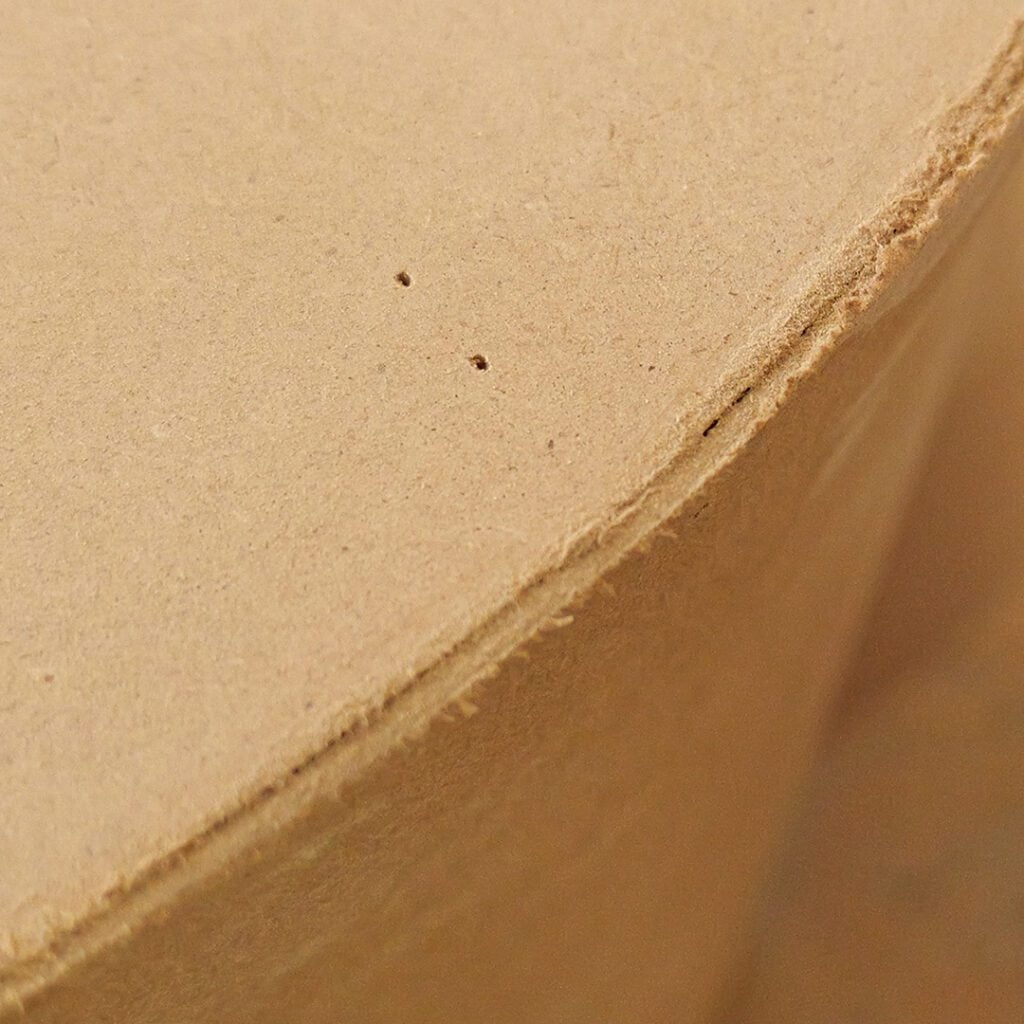
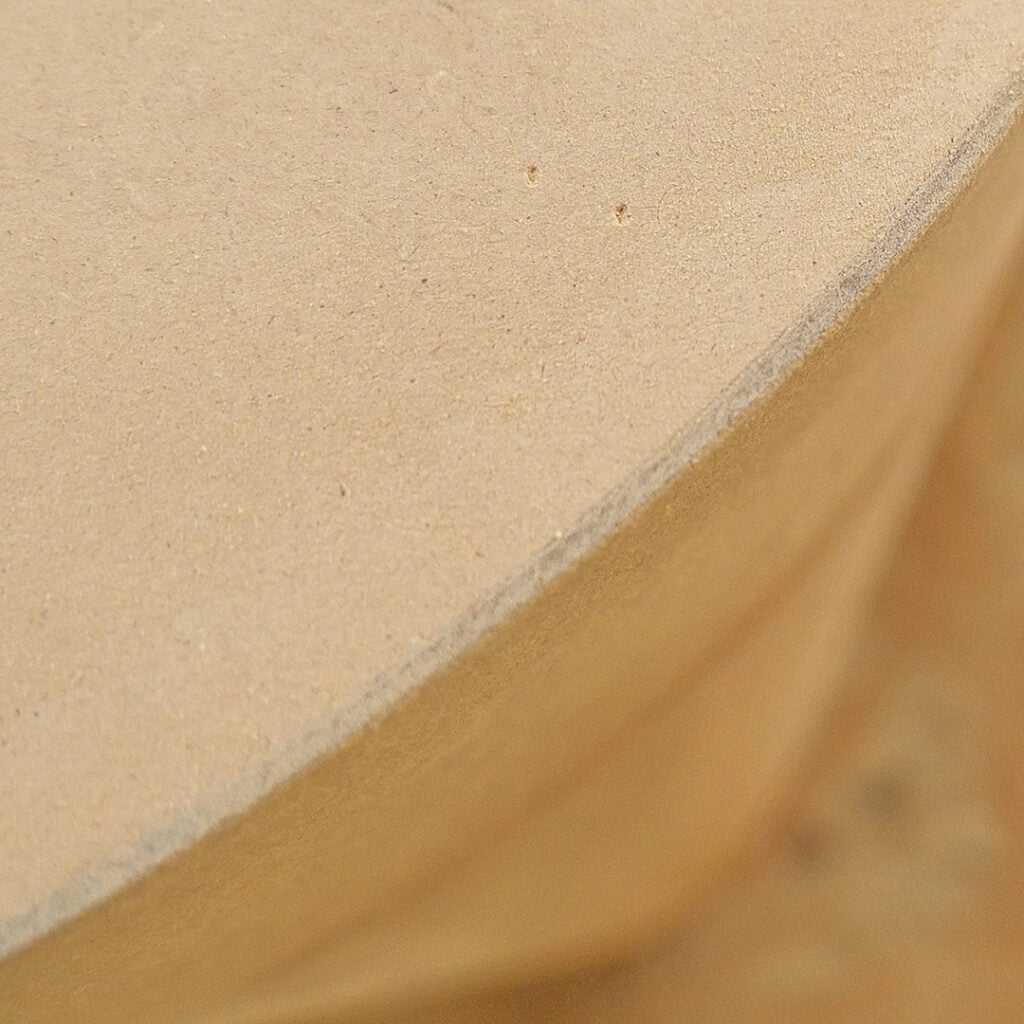
Following the cutting process, we understand the necessity of polishing. Some boards may have a rough surface post-cutting, so we meticulously polish them by hand to achieve a smooth and refined shape.
Edging
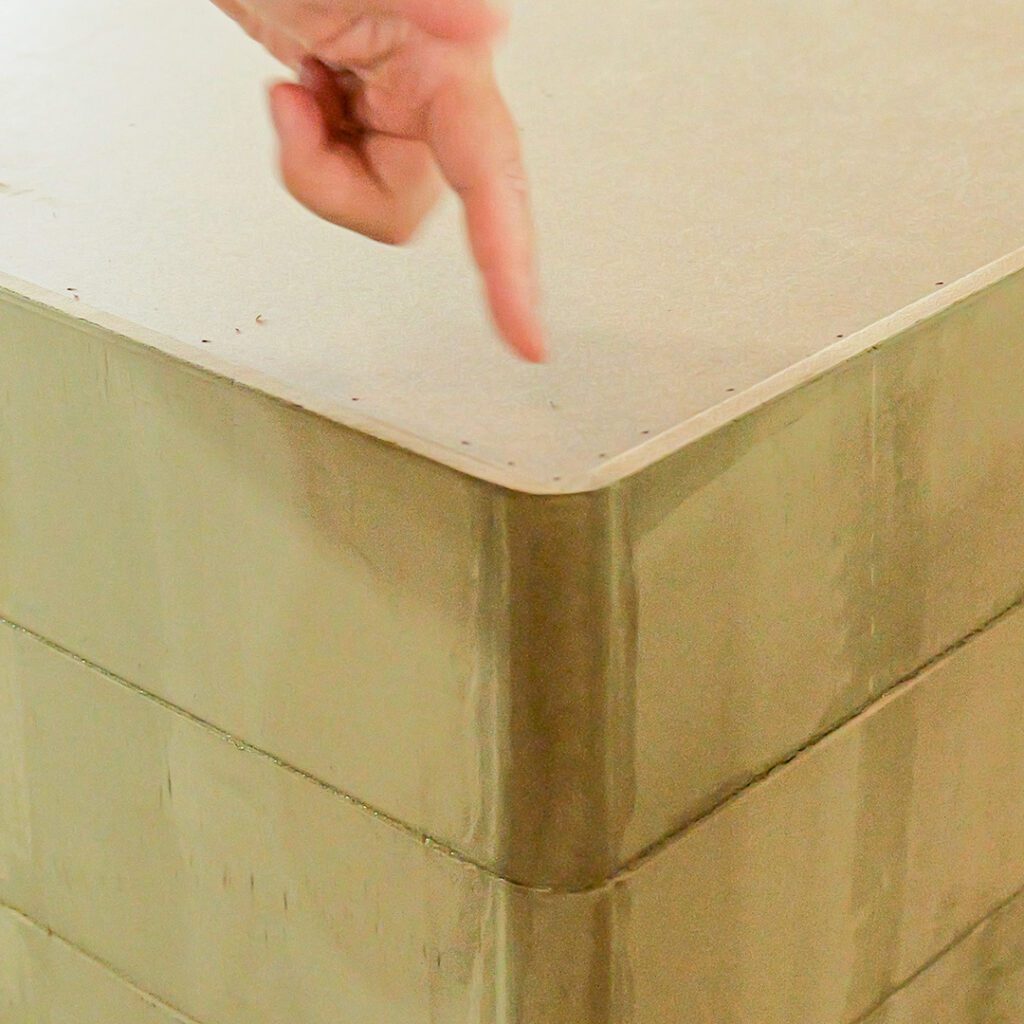
Our original melamine material was showcased in the picture, albeit with incomplete and unappealing edges. However, our newly acquired melamine edge sealing machine has revolutionized our edge banding technology, resulting in a more aesthetically pleasing outcome spanning 15-20cm. The thickness of the edges can now be precisely calibrated to around 15cm.
Compared to its predecessor, the new machine excels in performance, enabling the creation of thicker edges. One machine expertly crafts straight-line edges and right angles, while another skillfully forms curved or rounded shapes. This enhancement in our machinery guarantees superior results and expands the range of possibilities for our valued customers.
Painting & Sticking
For the next step, there are two options: painting or sticking paper. If it involves paper sticking, the result from the previous step can be sent directly to the sticking workshop. However, if it requires painting, it needs to be transferred to another workshop for a process called “Rub putty and polish” to enhance its quality before sending it to the painting workshop. This step is crucial in achieving a smooth surface by addressing any tiny holes and ensuring perfection.
When it comes to painting, there are several steps to follow. Both base painting and surface painting are necessary. The base painting consists of two rounds. First, the base paint is applied, followed by polishing, and then a splash of primer. After waiting for 24 hours for the primer to dry, it is polished again. These meticulous steps guarantee a higher-quality finish. Once the double base painting is completed, a single topcoat painting is required for the tabletop.
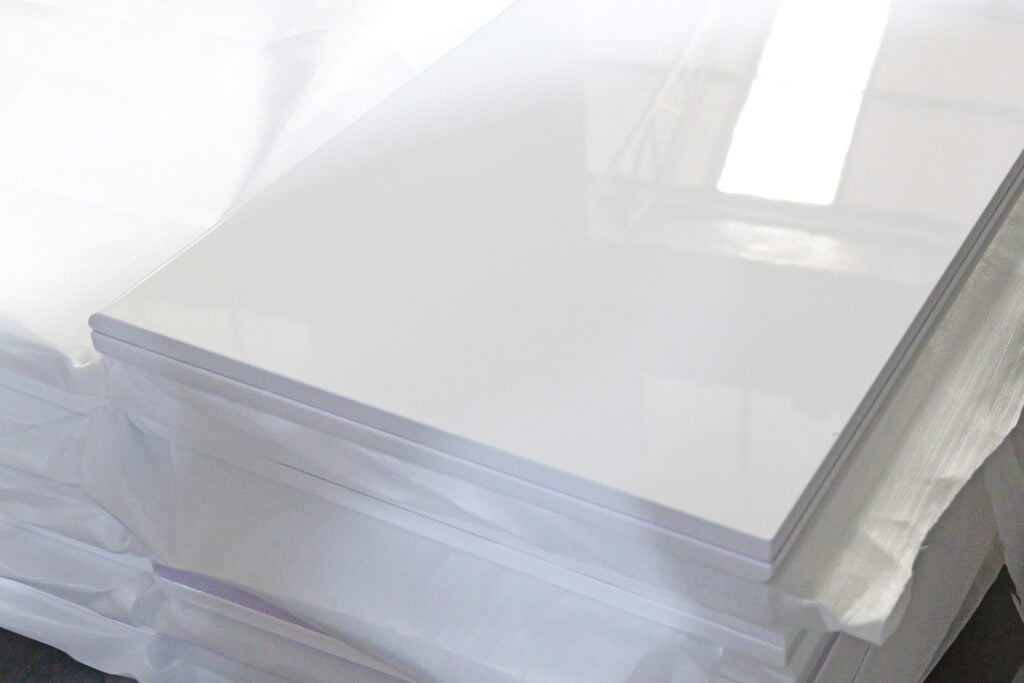
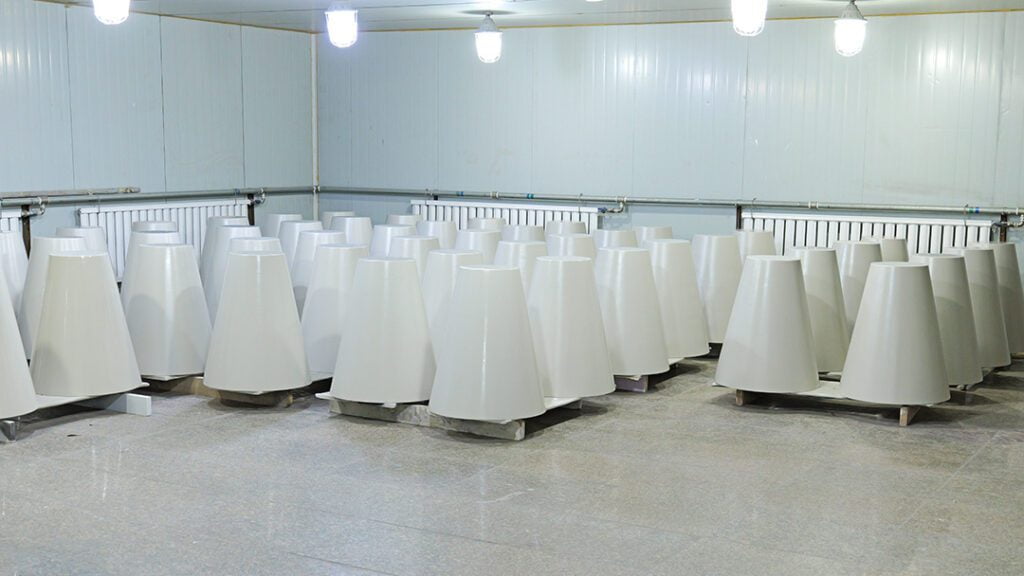
After the painting process is completed, the boards are placed in a designated room for natural drying. This room has strict requirements, including the absence of dust and people, as well as the need for air-conditioning. It takes 24 hours for the paint to dry completely.
If the surface includes veneer paper, there is no need to move it to the painting workshop. Instead, it can proceed directly to the stage where workers handle the task of covering the paper. The provided picture illustrates the process of covering the paper.
And then, let’s begin with the raw material known as veneer paper. Although called paper, it features a protective lacquer coating on its surface. As a result, there is no need for additional painting once the paper is applied. While normal scratches are acceptable for the veneer paper tabletop, caution is advised when using sharp objects as they may cause damage.
The workers start by applying glue to the tabletop and then carefully select a color for the veneer paper. This particular color option is among our bestsellers. Since this entire process is done by hand, the labor cost for veneer paper is slightly higher. It’s worth noting that if we were working with melamine instead, we could easily process it using machines. However, due to the manual labor required to apply the veneer paper, this step takes around half an hour to dry and ensure there are no bubbles.
By the way, we chose to paint the edges of the tabletop instead of using paper. While we could cover the entire side with paper, the edge is more susceptible to damage. Therefore, we recommend opting for the version with painted edges.
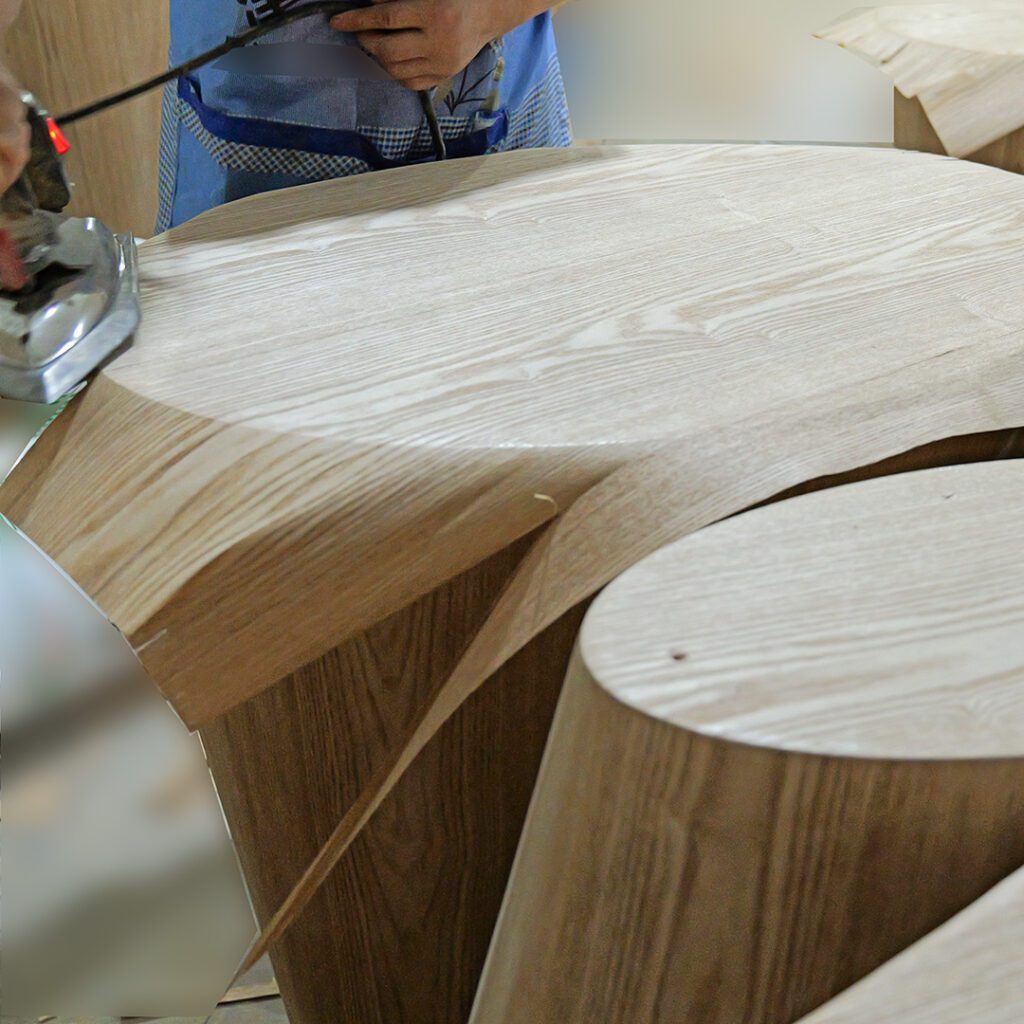
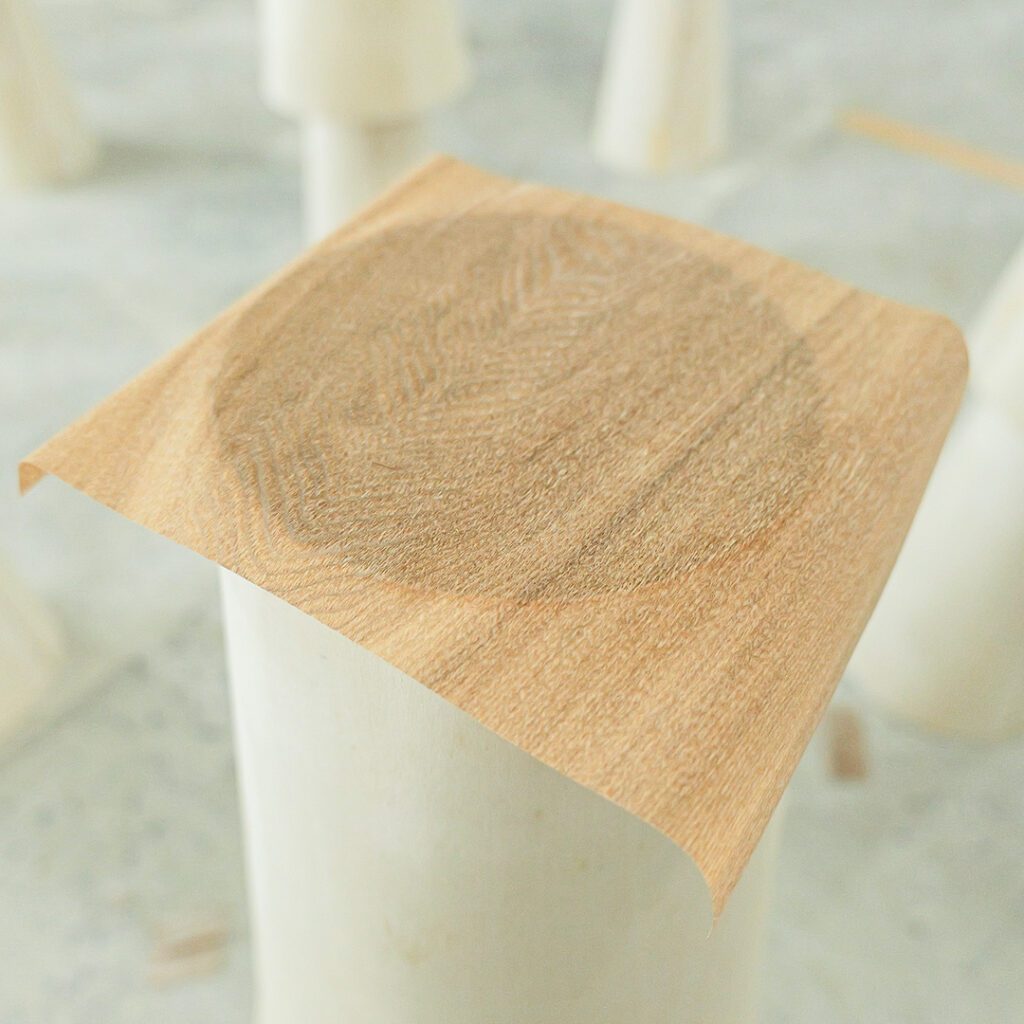
Handmade wood veneer is crafted from authentic, real wood. Unlike wood-looking veneer paper, which may offer a similar color but lacks the genuine authenticity of real wood. Applying this type of material by hand is crucial since it cannot be processed by machines. It’s important to note that the raw material should not be excessively dry, as this would make it difficult to adhere to the tabletop and prone to breakage.
To maintain the freshness of the wood veneer before application, our workers store it in a refrigerator. Prior to beginning the application process, the surface of the veneer is sprayed with water. This provides the necessary moisture for the sticking process to take place.
While the process is similar to that of paper veneer, wood veneer requires extra effort, time, and care due to its hardness. To meet the growing demand for wooden veneers, we have increased the number of dedicated workers assigned to this task.
Once the application is complete, all finished products are carefully stored in a cool environment with precise temperature control, air conditioning, and stringent quality requirements.
Packing & Assemble
Once the initial processes are completed, our dedicated workers meticulously add the final touches in the packaging workshop, ensuring everything is prepared for packing. However, before proceeding, they conduct thorough quality checks, particularly for tabletop paintings, to guarantee impeccable craftsmanship. In the event of any imperfections, the necessary adjustments are made in the previous workshop to meet our high standards. Furthermore, our vigilant QC team conducts another comprehensive inspection to identify any faulty pieces before shipment. Should any issues be found, they are diligently rectified.
To provide the highest level of convenience, we take the responsibility of assembling the finished product ourselves, especially for items that include drawers. This means that when our valued customers receive these pieces, they can rest easy knowing they won’t need to worry about any installation procedures.
In the packing workshop, we cater to our client’s specific requirements by customizing the packaging. For different types of customers such as wholesalers and retailers who have their own shops and don’t require extensive packaging, we provide standard packing services (carton weight: 175 pounds). However, for our e-commerce customers, we go the extra mile by utilizing 200-pound cartons with added foam-box protections. We want to assure you that meeting our customers’ specific demands is always our top priority.
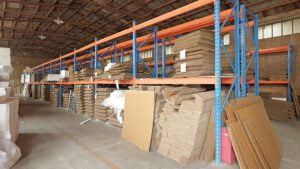
Typically, this entire process takes approximately 10-20 days if the products are already on the production line. However, if there is a high volume of orders to fulfill, it may take slightly longer to ensure each order receives the attention and care it deserves.

